In Paint, you can add borders to your images according to your needs.
Step 1: Access the Effects Menu
Locate the Effects Button: In the editing toolbar located at the top of the screen, find the “Effects” button.
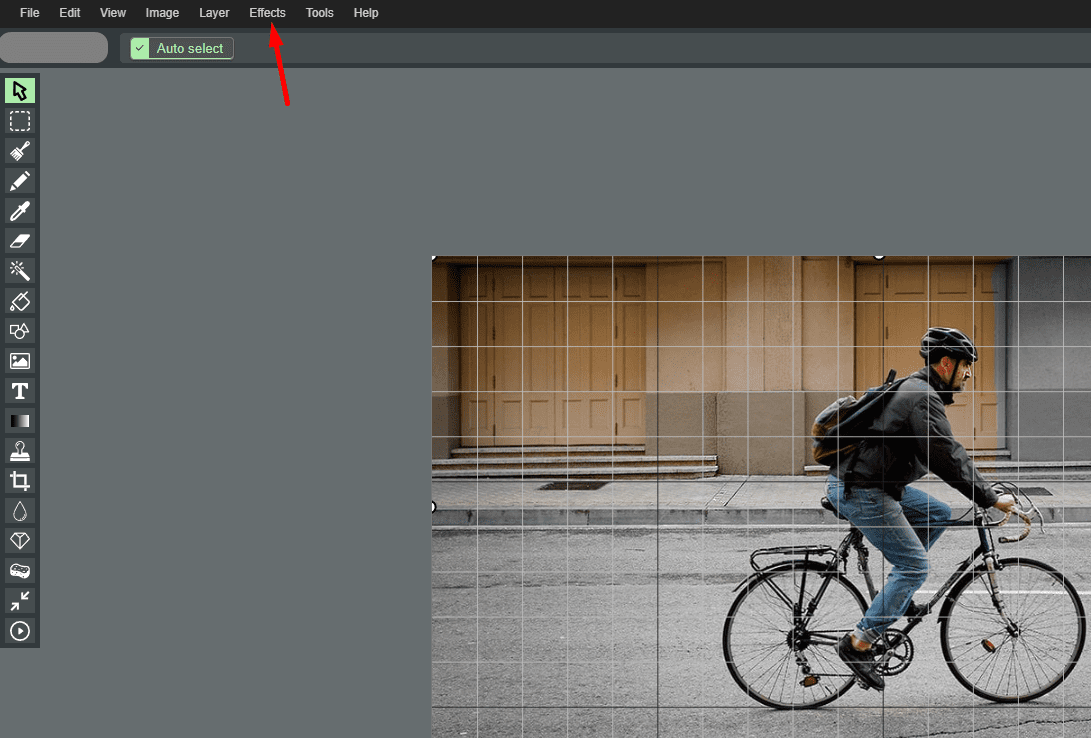
Click on Effects: Clicking on it will display a dropdown menu.
Step 2: Choose Borders
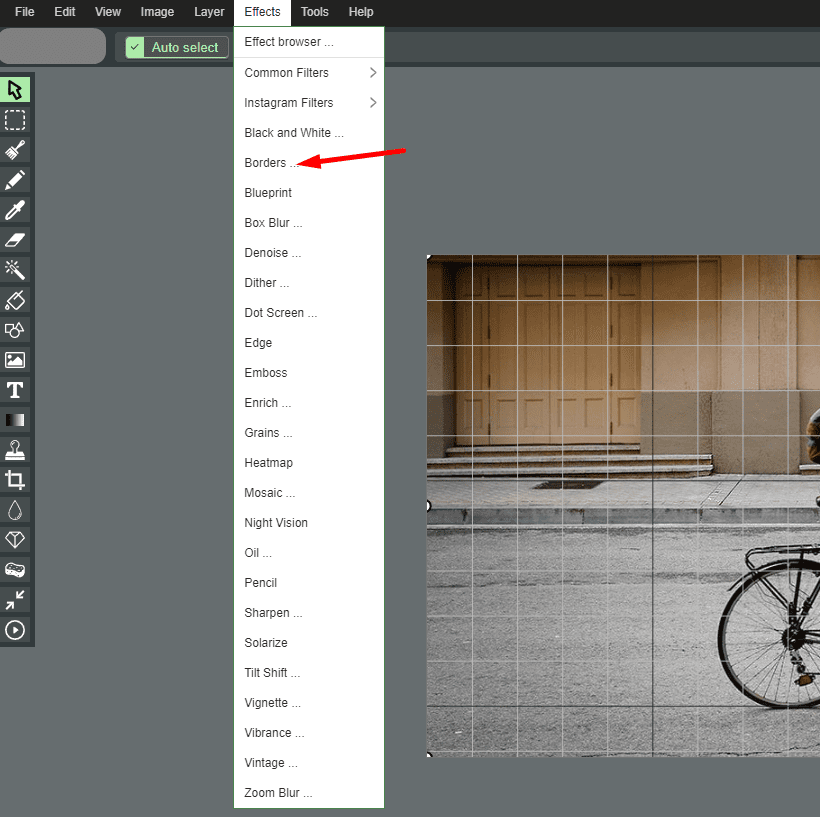
Select Borders: From the dropdown menu, choose the “Borders” option.
Step 3: Customize Borders
Set Color and Thickness: A window will appear, allowing you to choose the color and thickness of the border for your image.
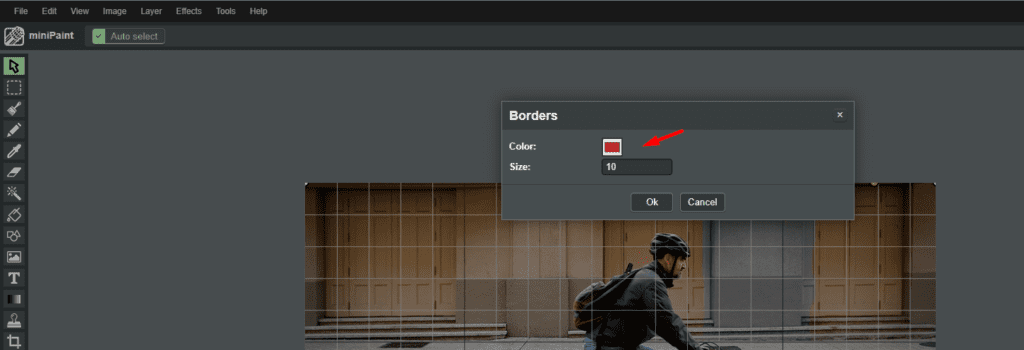
Adjust Options: Select the color and thickness that suit your needs.
Step 4: Apply Borders
Apply Changes: After customizing the border options, click on “Apply” or “OK” to add the borders to your image.